The Simple Truth About Maintaining Your Reverse Osmosis System: Why Clean Water Depends on Regular Care
If you’ve ever taken a sip of crisp, filtered water from your kitchen tap and thought, “Ah, that’s perfect,” you probably have your reverse osmosis (RO) system to thank. But here’s the thing most homeowners forget — even the best RO units aren’t “set it and forget it.” Over time, filters clog, membranes get tired, and the system quietly loses its sparkle. Before you know it, that once-pristine water starts tasting a little… off.
That’s why knowing how to change a reverse osmosis filter isn’t just some technical chore — it’s one of the simplest ways to protect your health and the lifespan of your system.
Why Filter Changes Matter More Than You Think
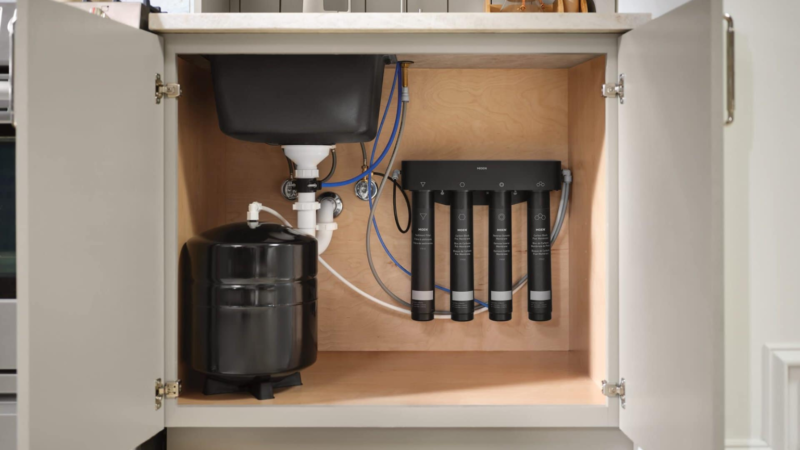
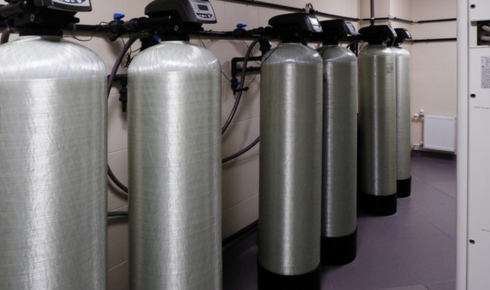
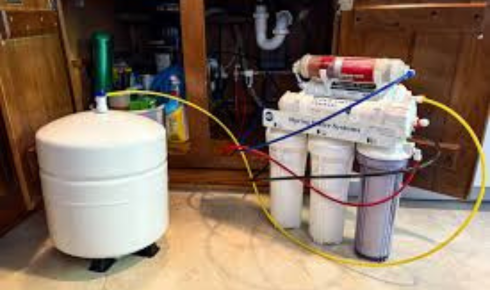
Let’s be honest — the idea of cracking open a water system might sound intimidating. There are tubes, canisters, maybe a storage tank — it all looks a bit like a science experiment under your sink. But here’s the truth: those filters are doing the heavy lifting. They catch chlorine, sediment, and all the microscopic nasties that don’t belong in your glass.
Over time, these filters get clogged and lose efficiency. Think of them like air filters in your car. You wouldn’t go years without replacing those, right? The same principle applies here. Old filters don’t just slow down water flow — they can affect taste, smell, and even the system’s internal parts. Regular maintenance isn’t about being overly cautious; it’s about being smart.
A Step-by-Step Walkthrough (Without the Jargon)
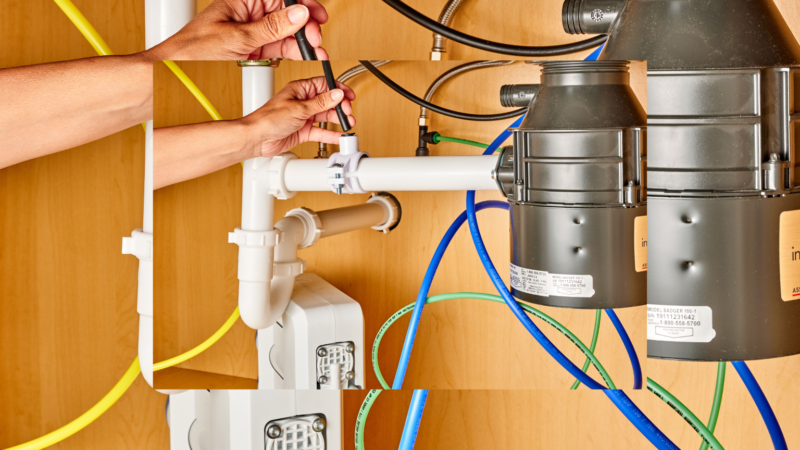
If you’ve never done this before, don’t sweat it. Changing filters doesn’t require plumbing expertise — just a little patience and a towel nearby (trust me, there’s always a little spill).
- Turn off the water supply – You don’t want any pressure in the lines.
- Release pressure – Open the RO faucet until water stops flowing.
- Unscrew the filter housings – Use the wrench that came with your system.
- Remove old filters – Give them a respectful goodbye. They’ve served well.
- Clean the canisters – A mild soap rinse or vinegar solution works great.
- Insert new filters – Make sure they’re in the right order (usually sediment first, then carbon, then the RO membrane).
- Reassemble and flush – Turn on the water, let it run for a few minutes, and check for leaks.
That’s it. No need for a technician call-out unless you’re dealing with an older system or heavy buildup. Once you’ve done it once, it feels like changing a car tire — a small skill that pays off for years.
Common Mistakes (And How to Avoid Them)
It’s surprisingly easy to skip steps when you’re rushing. Some folks forget to flush the new filters, which can leave your water tasting odd for a few days. Others forget to tighten the housings properly and end up with tiny leaks.
Here’s the trick: take it slow. Read the manual. Most manufacturers even include a replacement schedule. Label your system with a marker — write down the next filter change date so you won’t have to rely on memory.
If you want to go deeper, learn about changing filters on reverse osmosis system setups with multiple stages or different cartridge types. Some high-end models have four or five filters, and each one has a purpose. When replaced properly, they can bring your TDS (Total Dissolved Solids) levels right back to optimal.
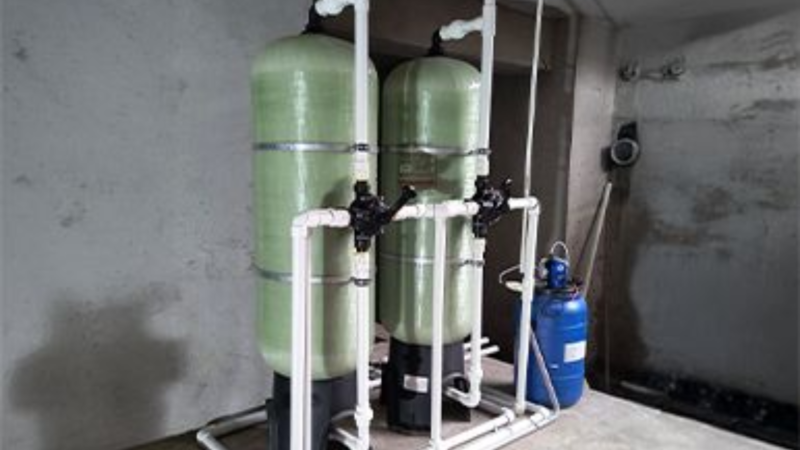
When It’s Time for a Full Service
Filters are one part of the story — the membrane and fittings are the rest. Over time, minerals can build up, reducing efficiency. If you notice reduced water pressure, a noisy drain line, or a persistent taste issue, it might be time for more than just a filter swap.
That’s where learning how to service reverse osmosis system setups comes into play. Servicing involves inspecting the storage tank, checking O-rings for cracks, sanitising the system, and ensuring no leaks or cross-contamination occur. You don’t need to do this every month — once a year is usually perfect. It’s like giving your system a health check-up.
If your unit is over five years old or used heavily (like in a large family or small office), a professional service visit is worth the cost. It’s often cheaper than replacing the whole system down the line.
The Little Details That Make a Big Difference
A clean system isn’t just about water taste. It’s peace of mind. It’s knowing your family’s water is safe, chemical-free, and filtered to perfection. Reverse osmosis is an incredible technology — one that quietly removes 95–99% of contaminants. But it needs your help to keep doing its job.
Simple things like replacing filters on schedule, checking for slow leaks, or even sanitising the system once a year make all the difference. A few minutes of care can save you hundreds of dollars and give you the confidence that every drop of water is as pure as it should be.
Final Thoughts: Keep It Simple, Keep It Clean
If there’s one takeaway, it’s this: maintaining an RO system doesn’t have to be complicated. It’s just about being consistent. Mark a date, follow a few simple steps, and enjoy the satisfaction of clean, fresh water straight from your tap.
And remember — water is one of those quiet essentials in life. We don’t notice its quality until it changes. Staying proactive about maintenance ensures you never have to think twice about what’s in your glass.
So next time you pour yourself a cold drink, you’ll know exactly why it tastes so good. It’s not just the system — it’s you taking care of it.